We recommend leaving all of the bolts slightly loose until all the parts are installed.
Then go back and torque each bolt to 32 ft. lbs.
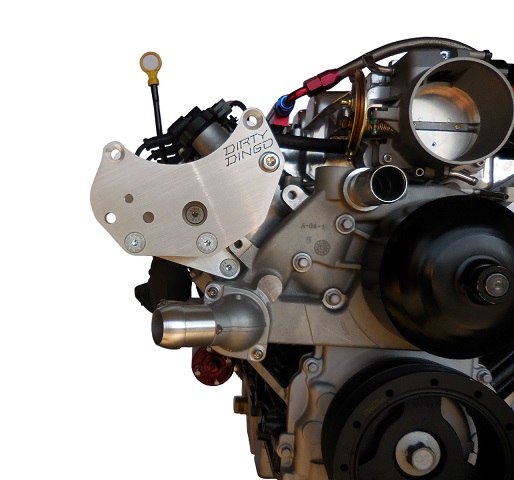
Install the smaller rear bracket using spacers "A" between the bracket and passenger cylinder head using two countersunk bolts.


Next install the larger bracket using spacers "B" between the two brackets.
These two bolts are counter sunk.
Then place the longest socket head bolt through the front plate, a "B" spacer between the two plates, and the last "A" spacer between the rear bracket and the cylinder head.

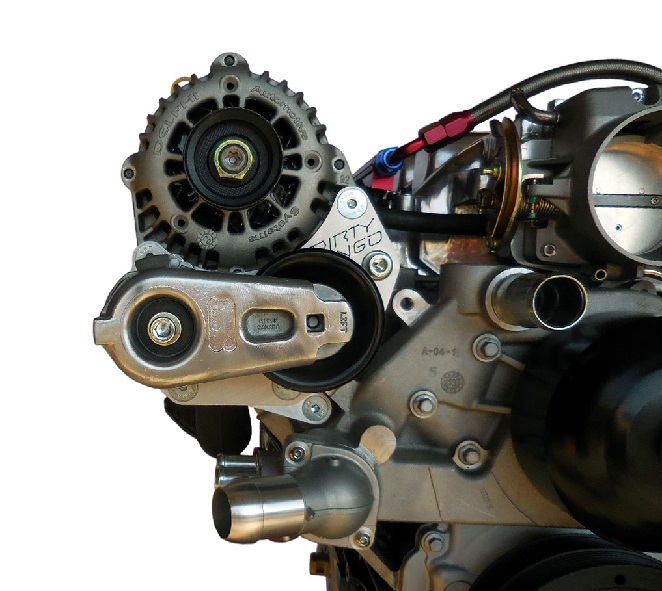
Now install the alternator between the two brackets using the two 80mm bolts with stainless washers on both sides and lock nuts on the back side.


Next tighten all bolts to 32 ft lbs. Start with the rear bracket first, then the front bracket, and finally the alternator.
TENSIONER INSTALLATION-
Place the spacer under the tensioner before installing onto the front plate.
Torque the tensioner bolt to 32 ft. lbs.

This kit comes with new stainless button head allen bolts to be installed on the thermostat housing.
This will give more clearance for the tensioner to swing down when installing the belt.

Place a 3/8 ratchet and extension into the front of the tensioner and twist tensioner down to install the belt
BELT SIZES-
Using our LS1 Camaro high mount power steering bracket
Gates K060725